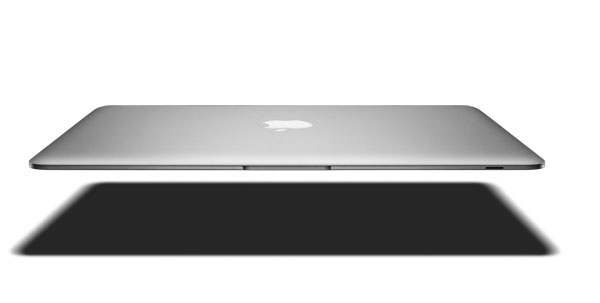
MacBookAir? Is this really the best Apple could come up with? A laptop you can slide under the door or put in an envelop? Yeez… Probably the hot-air-book is about as thick as an iTouch. The first thing I did was to buy a leather case to protect the vulnerable thing, making it as thick as a first generation iPod… (needless to say, when my MacBookPro breaks down, ill replace it with a MacBookAir, clearly!)
Ranting about MacWorlds : Wired has a great article on last year’s event. Steve Job’s iPhone presentation is something that will be part of the collective memory when it comes to 2007-recollections. Few people will have realized that the Apple-team didnt have a working prototype a few weeks before… Here’s The Untold Story: How the iPhone Blew Up the Wireless Industry. A good read!
If you plug in your jailbroken iTouch, you will be asked wether you want to upgrade to 1.1.3, something we all feared for a long time and so it takes just nanoseconds to hit the cancel-button. But, there is good news! Rupert Gee reports that you can downgrade to 1.1.1 and redo jailbreak. I won’t try it for some time, but still…
In the unlikely event that you come here being a mathematician, here’s what I did with my iTouch today. Ive downloaded the Connes-Marcolli talks on Renormalization and Motives part 1, part 2, part 3, part 4, part 5, part 6, part 7 and part 8 at work. They are in mp4-format so you can load them into iTunes and onto your iTouch!!! Weather is not favorable for outdoor-cycling at the moment, so I used the home-trainer, put the iTouch in front of me and, boy, was I educated…
Leave a Comment
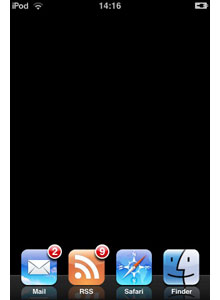 I’ve reduced the springboard of my